Create additional admin users and use roles to define exactly what they may do in the backend.
Manage backend users and their permissions under System > Permissions, in two related sections:
User Roles
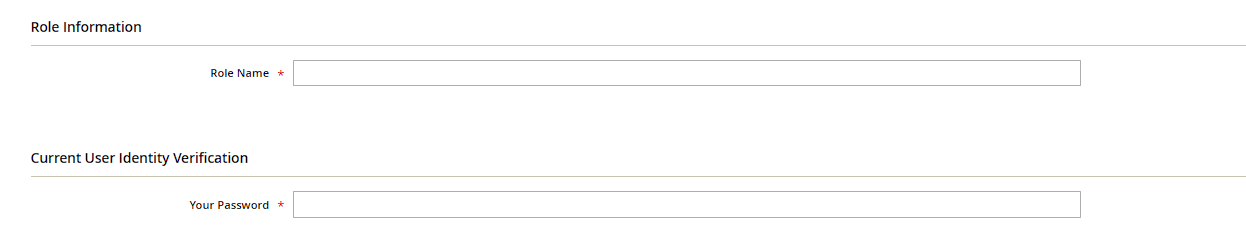
A role defines WHICH areas of the backend are accessible — under Role Resources you use a tree structure to select exactly the menu items that should be visible for this role (e.g. a "Support" role with access only to orders and customers, no access to system settings or payment data). Additionally, under Role Resources > Advanced you can restrict which websites/stores the role applies to.
All Users
Here you create the actual user accounts (Add New User) and assign each one a previously defined role. A new user needs at minimum a username, email, password, and your own current password for confirmation.
Golden rule: never grant more rights than a given task actually needs — an employee who only handles orders doesn't need access to system configuration or payment settings. That significantly limits the potential damage if an account is ever compromised.
Two-factor authentication (2FA)
Since Magento 2.4, the two-factor authentication module is enabled by default and requires every admin user to set up a second factor on first login, typically via an authenticator app (e.g. Google Authenticator). This is configured under Stores > Configuration > Security > 2FA, where individual providers can be enabled or disabled. Practical tip: on production environments, 2FA generally should not be disabled, even though that can be tempting during development — it's one of the most effective safeguards against compromised admin accounts.
Account lockout after failed attempts
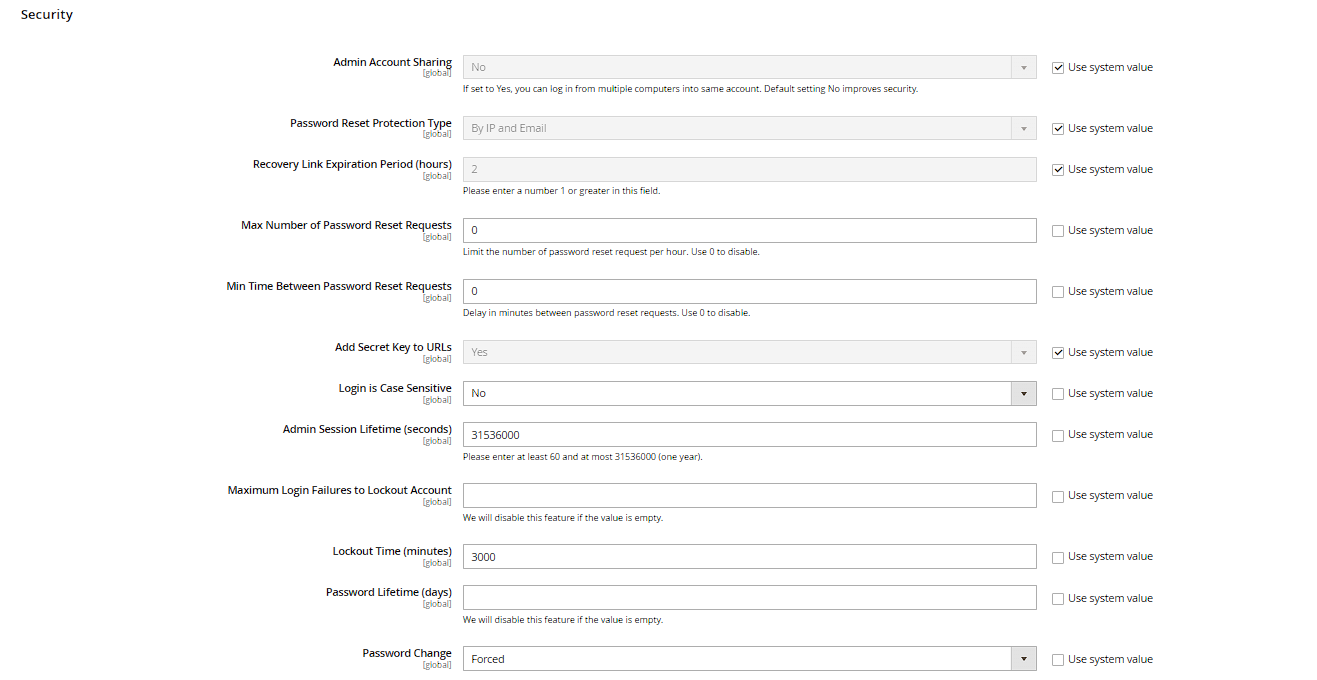
Under Stores > Configuration > Advanced > Admin > Security, the Maximum Login Failures to Lockout Account field determines after how many incorrect password attempts a user account is locked automatically, and Lockout Time (minutes) sets how long that lock lasts. When an account is locked, its edit page under System > Permissions > All Users shows a notice along with an Unlock button, letting another administrator lift the lock early.
Session lifetime and password expiry
Also under Stores > Configuration > Advanced > Admin > Security, Admin Session Lifetime (seconds) controls after how much inactivity a backend user gets logged out automatically, and Password Lifetime (days) forces a password change on next login once the specified number of days has elapsed. For accounts with far-reaching rights (e.g. an Administrator role), it's advisable to set these values noticeably stricter than for pure editorial or support accounts.
Managing your own profile
Regardless of their role, every logged-in backend user can maintain their own account details via System > My Account — username, email, password, and the preferred interface language (Interface Locale). Changes here also require the user's current password for confirmation. Instead of deleting an account that's no longer needed, it can simply be set to Inactive under All Users via the This account is field — that way the history (e.g. "last modified by") remains traceable.