Theme Configuration
How to switch the active theme and make basic design settings in the backend.
Set the active theme under Content > Design > Configuration — each store view can be assigned its own theme, useful if you want a different design for a specific market, for example.
What else gets configured here
- Applied Theme: select the active theme (e.g. the Mironsoft Hyvä theme on this project).
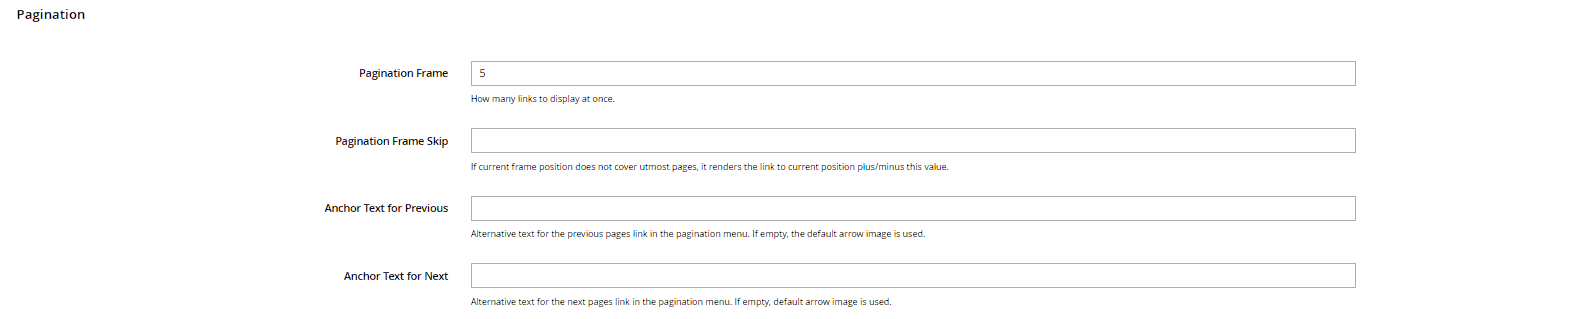
- Other Settings > Pagination: how many products are shown per page by default.
- Watermark: automatic watermarks on product images (a classic Luma feature, often unused with Hyvä themes).
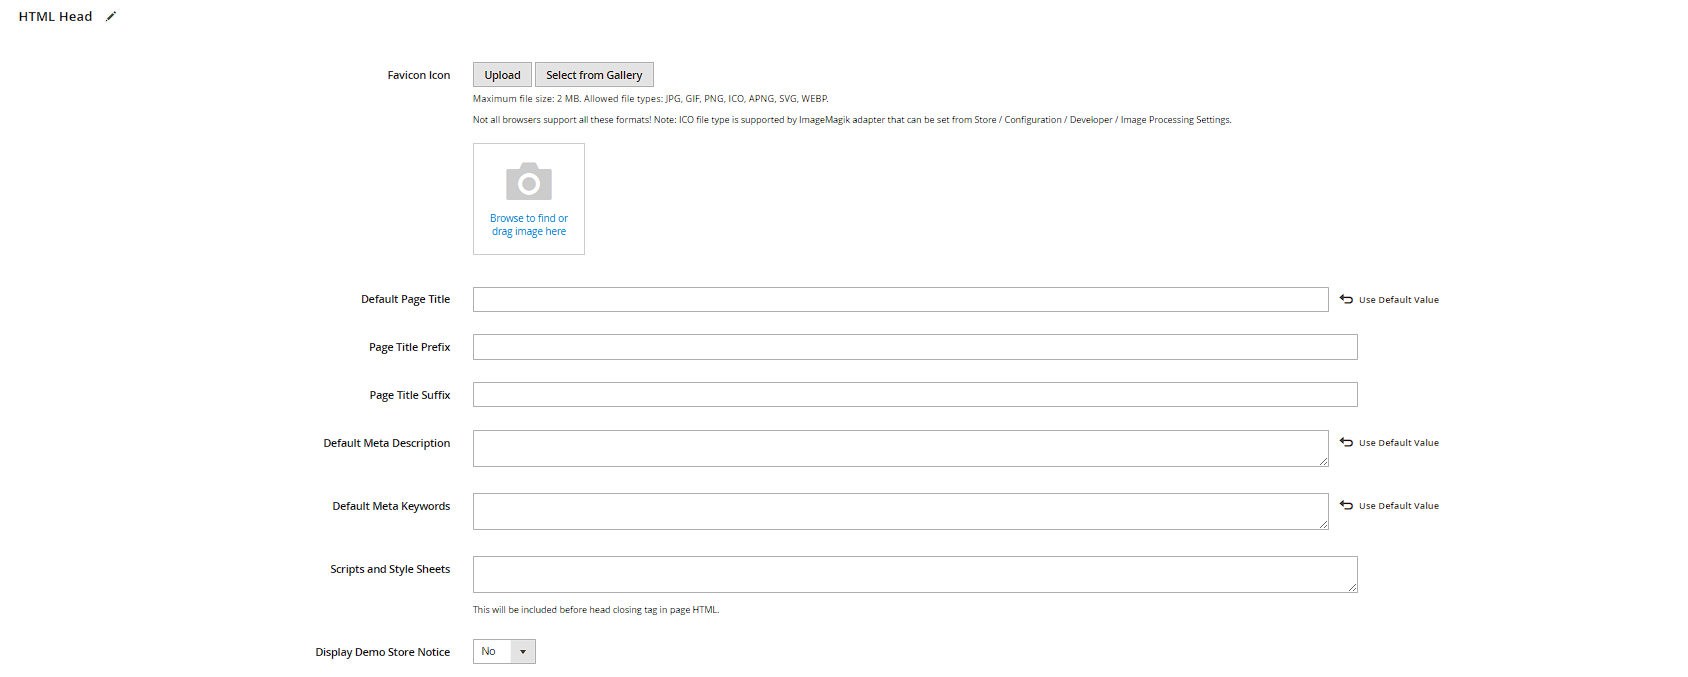
- HTML Head: default meta tags, favicon and a default title, used as a fallback when an individual page hasn't set its own SEO fields.

What does NOT happen in the backend
With a Hyvä theme like the one on this project, most of the actual design work does NOT happen in the backend — it lives in the theme code itself (Tailwind CSS, .phtml templates, Alpine.js components). The backend mainly controls WHICH theme is active and a few global behavior options, not the visual fine-tuning itself. Changes to colors, spacing, fonts or the overall page structure always require touching the theme code and a subsequent deploy (see the deploy sequence in the project documentation), not just a backend setting.
Design configuration per category/product/CMS page
In addition to the global theme setting, individual categories, products and CMS pages can select a different layout (e.g. no sidebar) under the "Design" tab of their respective form – this overrides the global setting only for that one page.
Pagination and Sorting in Detail
Under Content > Design > Configuration, in the Other Settings section, product list pagination can be controlled in more detail than just the default count: the Grid per Page Values field defines which values customers can choose from in grid view (e.g. "12,24,36"), while List per Page Values is the equivalent for list view. Default Grid per Page Value and Default List per Page Value determine which of these values is pre-selected on first load, and Default List Mode decides whether category pages start in grid or list view by default.
Practical tip: The Allow All Products per Page field enables a "view all" option in pagination — for large categories with several hundred products, it's best left disabled, since a single page request would otherwise have to load and render a huge number of products at once.
Search Engine Robots Settings
The Search Engine Robots section, also found under Content > Design > Configuration, contains the Default Robots field, which controls the default meta robots value (e.g. "INDEX, FOLLOW" or "NOINDEX, NOFOLLOW") applied to all pages unless an individual page overrides it with its own robots settings. Edit custom instruction of robots.txt File lets you adjust the content of the delivered robots.txt directly in the backend, without uploading the file via FTP.
Practical tip: On a staging or test environment, Default Robots should always be set to "NOINDEX, NOFOLLOW" so search engines don't index test content — forgetting to reset this setting after go-live is a common mistake.

Scheduling Design Changes
Under Content > Design > Schedule, you can create time-limited design changes, for example a special layout for a campaign or a holiday. A new entry requires a Store View, a period defined by Date From and Date To, and either a different Custom Design (theme) or a Custom Layout Update XML that is only active during that period.
Once the date range has passed, Magento automatically switches back to the regular configuration without anything needing to be reset manually — useful for seasonal promotions where nobody has to remember to revert the design the day after.