Managing the Blog
How to create new posts in the Magefan blog, assign categories, and publish articles.
Magento doesn't ship with a blog of its own – the widely used solution is the free Magefan Blog extension, reachable on this project under Content > Magefan Blog > Posts.
Creating a post
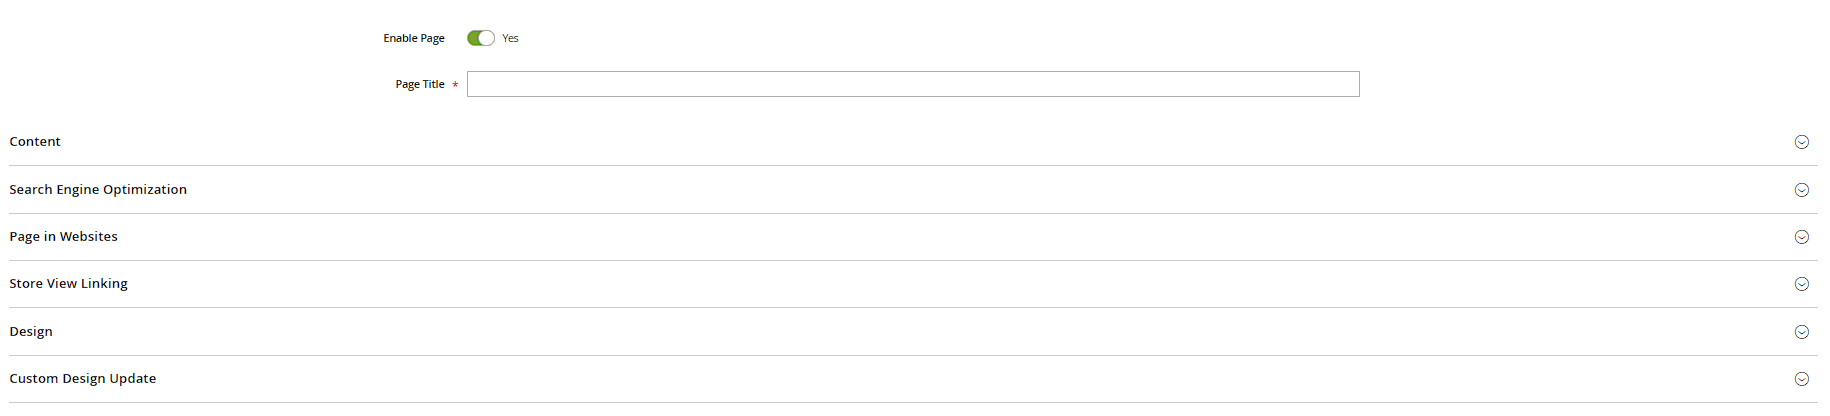
- Under Add New Post, enter the title, URL key, and the actual post content (via the WYSIWYG editor).
- Assign one or more Blog Categories so the post shows up in the right section.
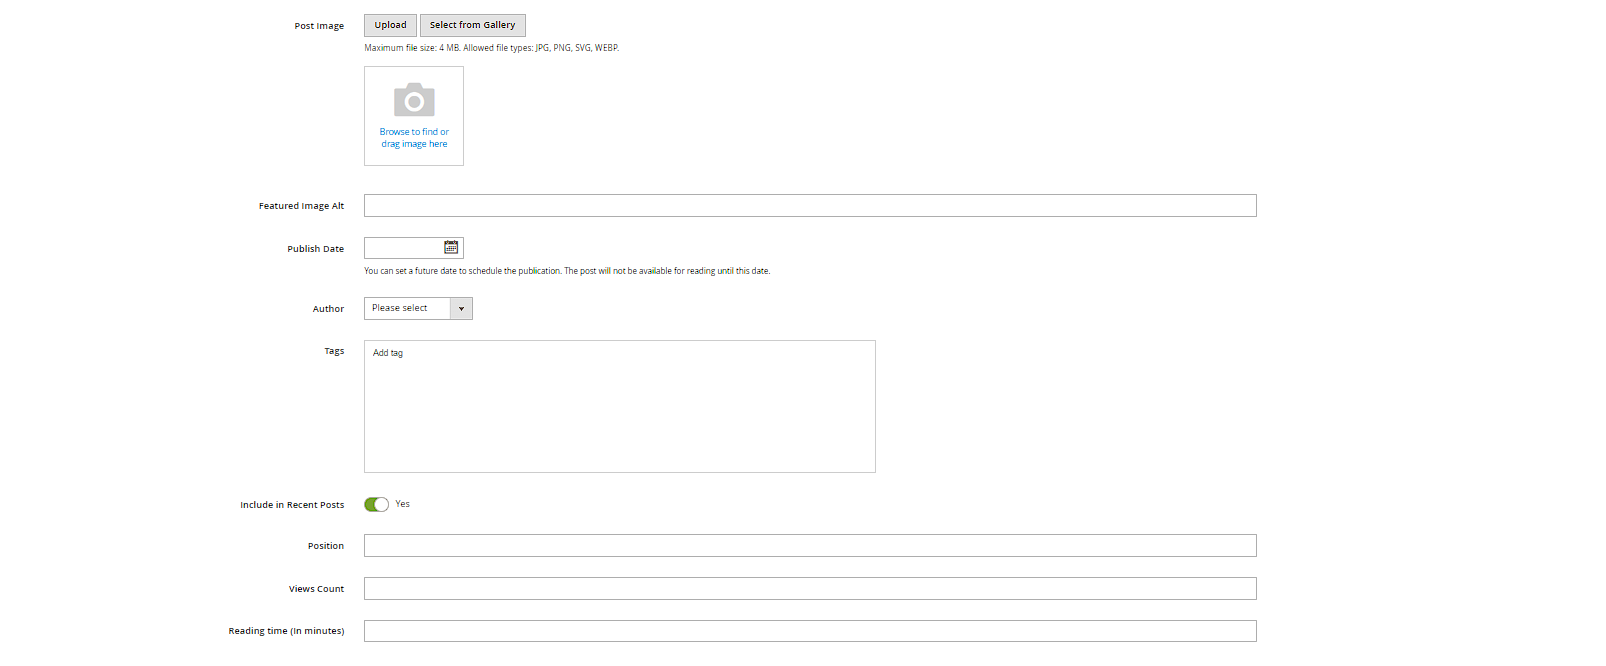
- Upload a Featured Image – it shows in the blog overview and often as the social media preview image (Open Graph).
- Set meta title and meta description under the "Search Engine Optimization" tab.
Scheduling publication
Enable the post with Enable Post; the Publish Date field lets you schedule publication for the future too – the post stays hidden until that point in time, even if already saved.
Blog categories and authors
Manage the blog categories themselves under Content > Magefan Blog > Categories – structurally similar to regular product categories (its own URL key, its own meta tags), but completely independent of the product catalog. Under Content > Magefan Blog > Authors you can additionally create author profiles with a name, photo and short bio, which can then be assigned to each post.
Multi-language blogging
Since Magefan blog posts (unlike categories) are a separate, distinct row per language in the database, every post needs its own version with its own URL key per store view – the link between language versions of the same post is maintained via a shared group key, so switching languages doesn't lead to a 404 page.
Assigning tags
Under Content > Magefan Blog > Tags you manage a store-wide tag list which, unlike the hierarchical blog categories, represents looser, cross-topic keywords (e.g. "guides", "tips"). In the post editor, the Tags field lets you assign as many of them as you like to a post; new tags can usually be created directly while writing a post, without switching to tag management first.
Moderating comments
User comments on posts come together under Content > Magefan Blog > Comments. From there you can review incoming comments before they go live, approving or rejecting them – important for keeping spam and inappropriate content off the storefront before it becomes publicly visible. Whether comments are enabled at all, and how they behave, is controlled via the general blog configuration (see below).
Short text for overview pages
Besides the full Content field, the post editor has a separate Short Content field. This shorter teaser text is shown on the blog overview page, in "Recent Posts" widgets, and similar teaser displays, while the full post text only appears on the single post view. Practical tip: write the short content deliberately as editorial copy instead of letting it auto-generate from the opening lines of the content – that way the teaser can be optimized for curiosity rather than just mirroring the article's intro sentence.
General blog settings
Overarching settings for the entire blog live under Stores > Configuration > Magefan Blog. From there you can enable or disable the blog altogether, set the number of posts shown per overview page, and control whether comments are allowed store-wide and whether an RSS feed is offered for the blog. Changes here apply globally to all store views unless overridden at the store view level.